C#使用過程中經常會遇到和C++聯合開發的過程,通過C++編寫動態庫,封裝成dll后再C#中調用,在此做個記錄,并供后期查看
一、新建C#控制臺項目
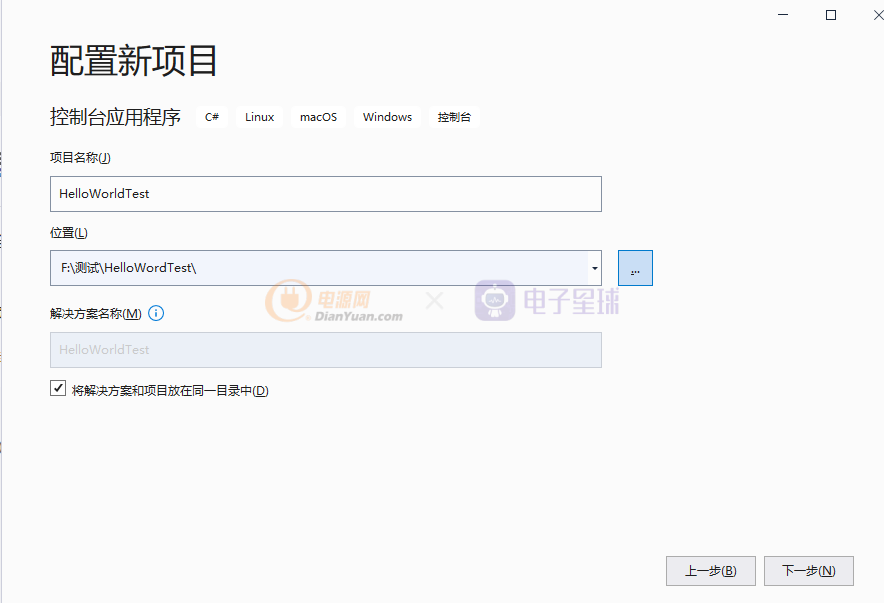
打開VisualStudio,新建一個C#控制臺項目,項目名稱HelloWorldTest
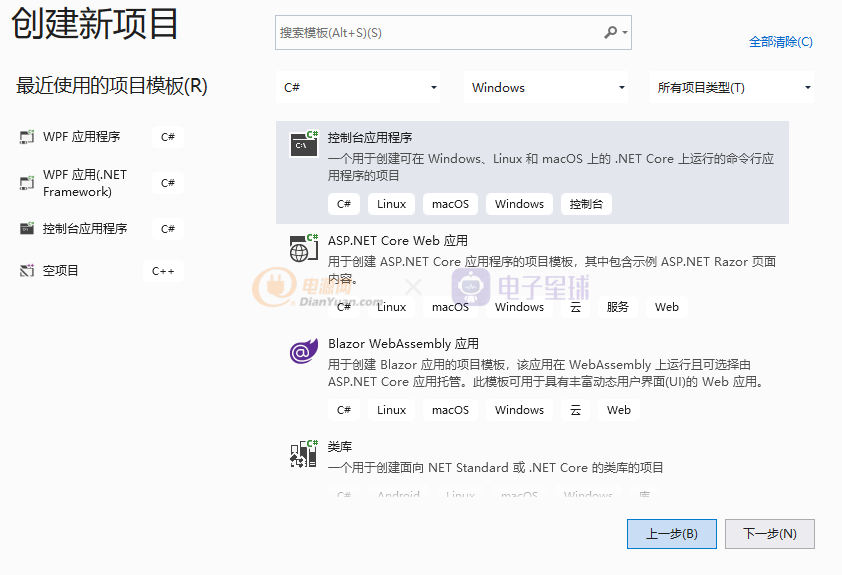
點擊下一步,一個空的默認c#項目創建完成
二、創建C++庫
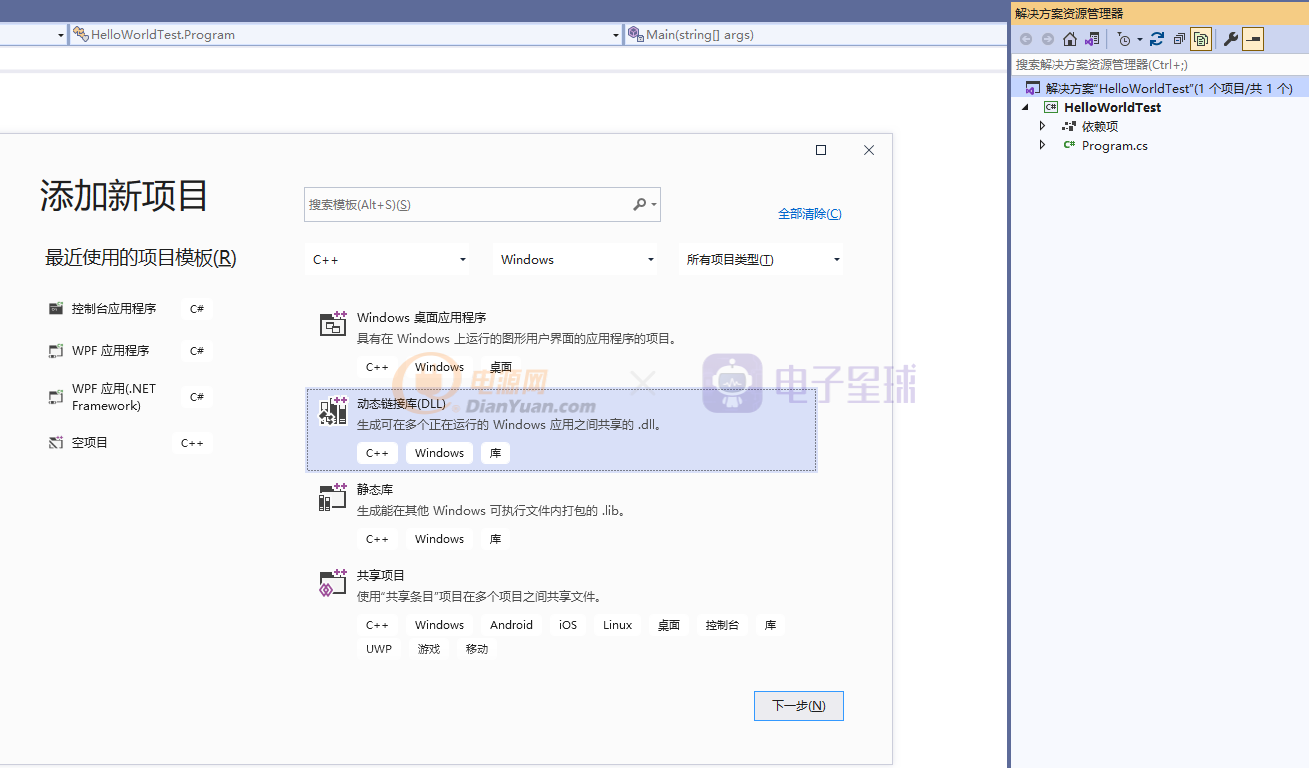
在解決方案上右鍵--添加--新建項目,建一個C++動態鏈接庫工程,輸入項目名稱TestDll
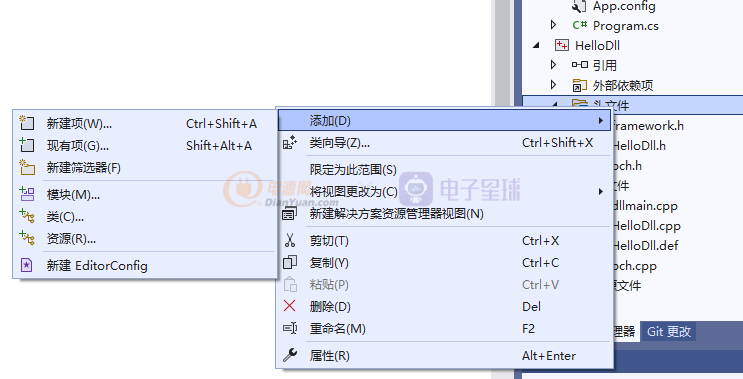
創建完成后如下,在源文件--右鍵--新建項--添加C++(.CPP文件),文件內容如下:
#include "pch.h"
#include "HelloDll.h"
#include<iostream>

void HelloWorld(char* name)
{
	std::cout << "Hello World " << name << std::endl;
}

int Test()
{
	return 123456;
}

int Add(int a, int b)
{
	return a + b;
}
C++庫導出有兩種方式,但是最好兩種方式同時使用,據說第二種是為了防止名字錯亂,
1、以C語言接口的方式導出
在頭文件--右鍵--新建項,然后新建HelloDll.h頭文件,如下圖

這種方法就是在函數前面加上 extern "C" __declspec(dllexport)
加上extern "C"后,會指示編譯器這部分代碼按C語言的進行編譯,而不是C++的。
extern "C" __declspec(dllexport) void HelloWorld(char* name);
extern "C" __declspec(dllexport) int Test();
extern "C" __declspec(dllexport) int Add(int a,int b);
2、以模塊定義文件的方式導出
在源文件上點擊右鍵,選擇添加-》新建項
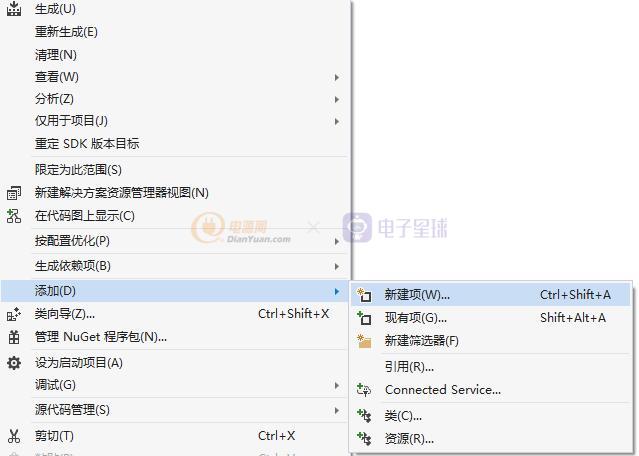
然后選擇代碼-》模塊定義文件
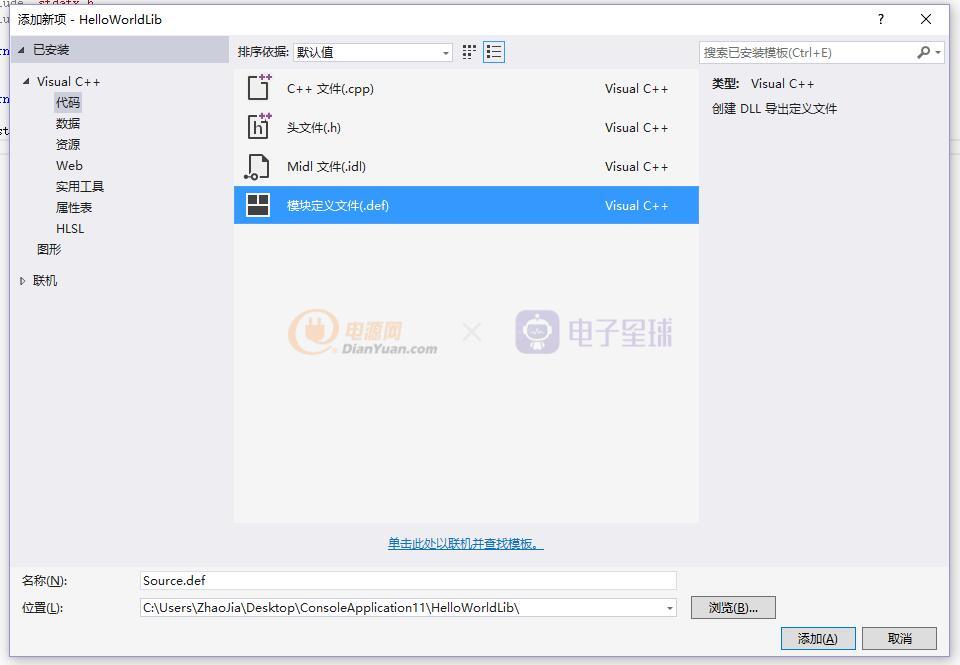
在HelloDll.def中輸入
LIBRARY "HelloDll"

EXPORTS

HelloWorld @ 1
Test @ 2
Add @ 3
EXPORTS下面就是要導出的函數,這里不需要添加分號隔開,直接換行就行。
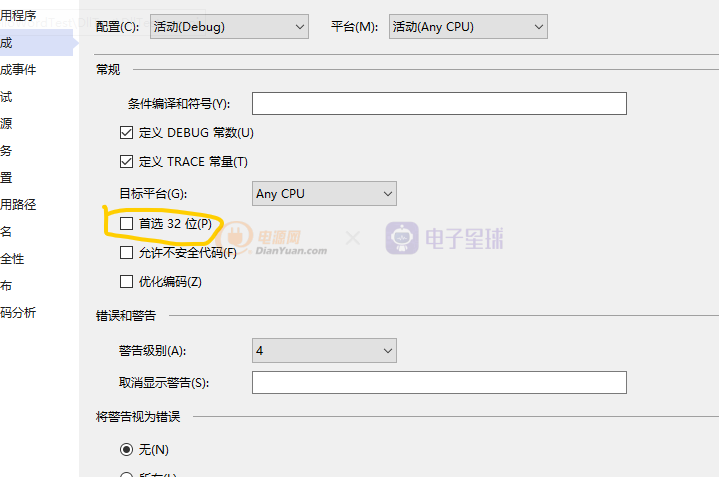
編譯,生成dll。這里需要注意的是,如果生成是64位的庫,C#程序也要是64位的,否則會報錯,下圖中默認是首選32位,所以需要把首選32位前的√去掉
在C#項目中添加引用:同時把C#代碼修改為:
因為要用到DllImport,所以先導入命名空間using System.Runtime.InteropServices;
注意:在DllImport導入C/C++編寫的動態庫時函數,可以加上一些約定參數,例如:
[DllImport(@"HelloDll.dll", EntryPoint = "Test", SetLastError = true, CharSet = CharSet.Ansi, ExactSpelling = false, CallingConvention = CallingConvention.StdCall)]CallingConvention = CallingConvention.Cdecl,來指定入口點的調用約定,否則有可能會 報錯
因為C/C++編寫的動態庫默認的入口點約定為_cdecl,而VS默認調用動態庫時的約定為_winapi
using System;
using System.Collections.Generic;
using System.Linq;
using System.Runtime.InteropServices;
using System.Text;
using System.Threading.Tasks;

namespace DllTest
{
    internal class Program
    {
        [DllImport("HelloDll.dll")]
        public static extern void HelloWorld(string name);
        [DllImport("HelloDll.dll")]
        public static extern int Test();
        [DllImport("HelloDll.dll")]
        public static extern int Add(int a, int b);

        static void Main(string[] args)
        {
            Console.WriteLine(Test().ToString());
            Console.WriteLine(Add(2, 5));
            HelloWorld("LiLi");
            Console.ReadKey();
        }
    }
}
運行程序,結果如下:
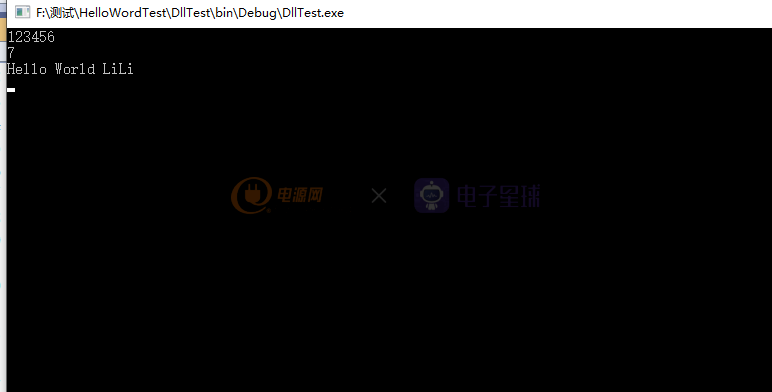
這樣就成功實現了C#調用的C++庫